Top-Rated Car Stereo Installation for Every Vehicle
Elevate Your Drive: A Comprehensive Guide to Vehicle Stereo Installation
Upgrading a car stereo can greatly enhance the overall driving enjoyment. Improved sound quality and modern features, such as Bluetooth connectivity, are convincing arguments for a great number of people. However, choosing the appropriate stereo unit and confirming it fits the car's configuration can be challenging. Additionally, precise installation is vital to steer clear of common issues. Understanding these elements can elevate not only the listening experience but also the satisfaction of every journey. What measures should be followed to complete this improvement?
Why Upgrade Your Car Stereo?
Upgrading a car stereo can greatly enhance the driving experience, as car owners often desire enhanced audio performance and contemporary features. Most drivers find that OEM audio systems do not meet the audio clarity and power standards drivers prefer. A replacement stereo provides improved bass, treble, and audio balance, completely changing the in-car listening experience.
Moreover, modern car stereos feature integration options such as Bluetooth connectivity, USB ports, and smartphone app integration, permitting effortless integration with personal devices. This enables users to access their favorite music, podcasts, and navigation tools effortlessly with ease.
In addition, a new stereo can provide cutting-edge capabilities like touch-operated interfaces, adjustable sound equalizers, and built-in GPS navigation, making it easier to retrieve information on the road. As technological progress moves forward, upgrading a car stereo can also keep the vehicle up to date, making certain it stays aligned with emerging audio standards and innovations. All things considered, an modernized vehicle stereo significantly improves the driving experience for all occupants of the vehicle.
Finding the Perfect Car Stereo for Your Situation
Choosing the ideal car stereo requires recognizing personal preferences and specific requirements. Consumers should evaluate factors such as sound quality, connectivity options, and compatibility with their vehicle. Numerous models may offer diverse features, including Bluetooth capability for hands-free calling, USB ports for device charging, and support for streaming services.
Furthermore, consumers are advised comprehensive resource to examine the measurements of the car stereo to confirm it integrates smoothly into their dashboard. Many drivers appreciate a interactive touch panel for convenience, while certain buyers may select traditional buttons.
Audio output is another essential consideration; individuals who prioritize audio quality should look for models with higher wattage and advanced equalization settings.
In conclusion, cost plays an essential part in the buying journey. By balancing features, quality, and price, shoppers can determine the auto sound system that is most suitable for their requirements, enriching their overall driving experience.
Must-Have Tools for a Successful Installation
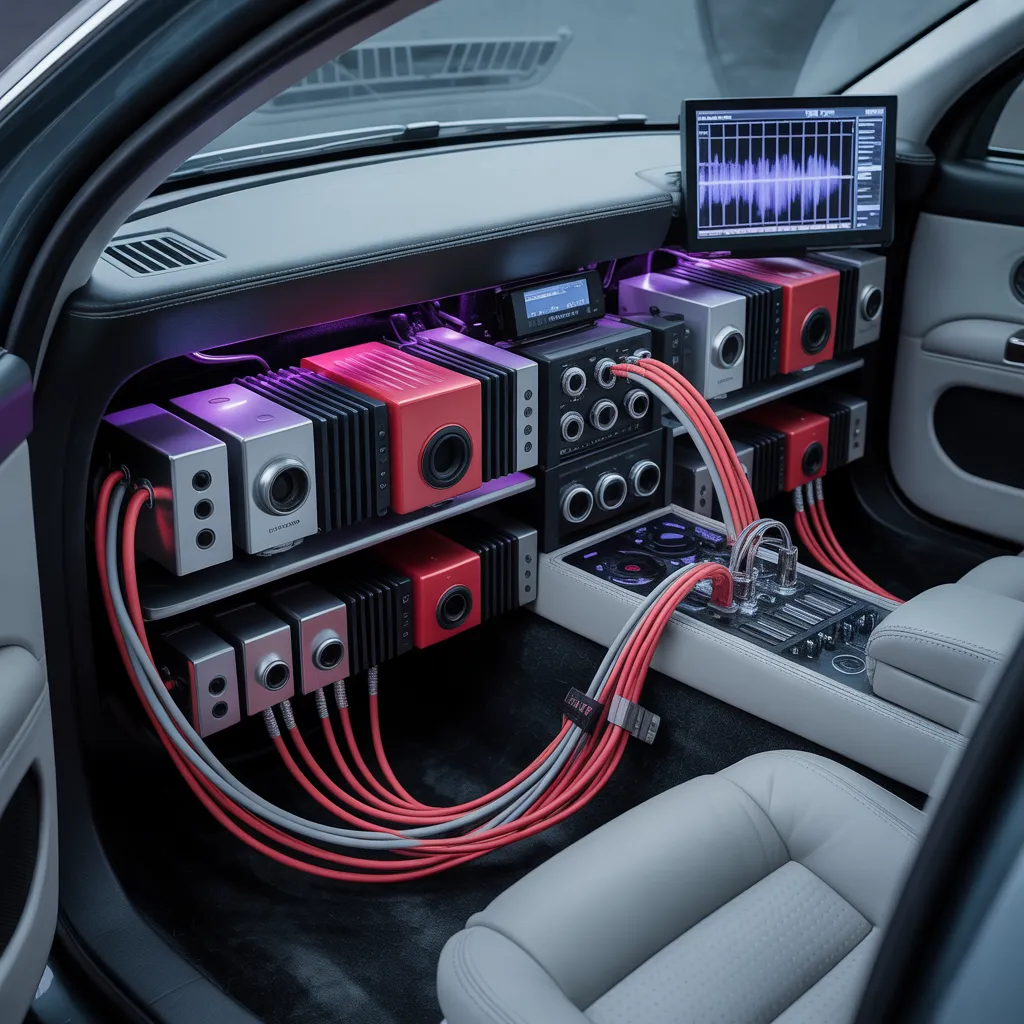
Completing a car stereo installation successfully demands some necessary tools to ensure the job is done properly and efficiently. First, a combination of Phillips and flathead screwdrivers is necessary to remove and fasten the stereo unit in place. Wire strippers and crimpers facilitate the connection of wires, creating a secure and consistent electrical connection. A multimeter is helpful for verifying voltage levels, as electrical tape and heat shrink tubing safeguard connections against wear and moisture exposure.
Moreover, a panel pry tool can prevent damage to the dashboard when accessing the stereo. Zip ties are useful for organizing and securing wiring, which is essential for maintaining a clean installation. To conclude, having a socket set on hand can simplify the extraction of bolts and screws. By arming oneself with these instruments, an installer can handle the process with greater confidence and effectiveness.
How to Install Your New Stereo in Easy Steps
Setting up a new car stereo requires a methodical approach to secure success. Initially, it is essential to gather the necessary tools, followed by the safe removal of the old stereo. To complete the process, correctly linking the new system will finalize the fitting procedure.
Gather Necessary Tools First
Before diving into car stereo installation, it's essential to assemble all the needed tools to guarantee a smooth process. Important tools include a screwdriver set, commonly featuring Phillips and flat-head varieties, to remove screws holding the stereo in place. A panel removal tool is necessary for carefully removing dashboard panels without scratching surfaces. Connectors and wire strippers will be needed for proper wiring and connections. In addition, a multimeter can help verify that every electrical connection is working properly. You should also have cable ties or electrical tape on hand for keeping wires tidy and organized. Lastly, a torch can brighten hard-to-see areas throughout the process. By assembling these tools beforehand, the installation can proceed more smoothly and systematically.
Old Stereo Removal Done Safely
Cautiously detaching the old stereo is a critical step in the setup procedure. First, the automobile's battery should be disconnected to eliminate the risk of electrical shocks or shorts. Following that, the removal of any trim pieces surrounding the stereo is necessary; this is typically done with a trim removal tool to minimize the risk of damage. Once the trim is off, screws or brackets securing the unit must be removed. With these fasteners taken out, carefully extract the stereo from its mounting slot. It is vital to disconnect the wiring harness and antenna cable carefully, ensuring no wires are compromised in the process. After the old stereo is fully detached, it can be moved away, preparing the space for the new installation.
Install New Stereo Correctly
With the old stereo removed, attention shifts to connecting the new unit properly. The installer should start by gathering the essential tools, including wire strippers and connectors. Following this, the installer can reference the new stereo's wiring diagram, which generally aligns color-coded wires with the vehicle's harness. Proper wire connection is critical; to illustrate, red commonly signals power, whereas black denotes ground. When the connections are complete, they must be secured using connectors or soldered for long-lasting reliability. Next, the installer should insert the new stereo into its mounting bracket and verify it fits securely. To conclude, reattach any panels that were removed during installation, carefully verifying all connections before turning on the new stereo to confirm it works properly.
Set Up Your Stereo: Wiring and Bluetooth Tips
Connecting a car stereo demands understanding fundamental wiring connections and learning the Bluetooth pairing process. A proper setup can enhance sound performance, but users may encounter recurring difficulties that require troubleshooting. This section will provide important tips to guarantee a smooth connection and superior performance.
Fundamental Wiring Connections
When fitting a car stereo, grasping the fundamental wiring connections is vital for achieving peak performance and full functionality. The primary connections include power, ground, and speaker wires. The power wire, typically red, connects to the vehicle's battery, providing the necessary energy for operation. The ground wire, typically black, ensures the stereo operates without interference. Speaker wires, generally color-coded, link to the speakers, carrying audio signals. Correctly crimping or soldering these connections is essential to avoid shorts or audio problems. Moreover, employing a wiring harness can ease the installation process by delivering a plug-and-play solution customized for the vehicle. Ensuring these connections are firm and properly configured will improve the overall listening experience and lifespan of the stereo system.
Bluetooth Pairing Process
After establishing the required wiring connections, the next phase involves linking the car stereo with a mobile device or other Bluetooth-capable device. First, the individual must verify that Bluetooth is switched on on the mobile device. The user should then find the unit's Bluetooth menu, generally accessible in the primary menu. The stereo will often present a range of discoverable devices. The person chooses their mobile device from this display. A pairing code may be shown on both units; verifying this code completes the connection. When connected, the stereo generally allows for wireless audio and Bluetooth calling. It is suggested to confirm the connection by testing audio or initiating a phone call to confirm that audio quality and performance work as intended.
Troubleshooting Common Issues
Resolving frequent problems with car stereo setups demands a methodical process to pinpoint and fix issues effectively. To begin, ensure that all wiring connections are tight and correctly aligned with the vehicle's wiring diagram. Unsecured or improper connections can cause power issues or degraded sound output. Should the stereo not turn on, inspect the fuse and the car's battery. When experiencing Bluetooth connectivity difficulties, verify the device is in pairing mode and adequately close. Additionally, verify the stereo's firmware is up-to-date. If sound quality is poor, inspect the speaker connections and settings. In conclusion, reviewing the user manual can supply detailed troubleshooting instructions specific to the stereo model, optimizing the installation experience.
Top 5 Installation Mistakes to Avoid
Even though putting in a car stereo seems easy, many individuals unknowingly make critical mistakes which can cause inadequate functionality or even vehicle damage. One common error is neglecting to disconnect the battery, which may result in electrical shorts or dangerous shock. An additional misstep is neglecting to accurately match the stereo's power specifications and connections, causing unsatisfactory audio performance or total system breakdown.
Additionally, not using the correct tools can result in stripped screws or damaged components. Failing to consider compatibility with the vehicle's existing setup is yet another error; choosing a stereo that doesn't match can result in installation complications. Finally, poor speaker placement can negatively impact sound quality and audio performance. By sidestepping these five key mistakes, individuals can secure a more efficient installation process and relish improved audio performance in their vehicles.
Questions We Often Receive
Is Installing a Car Stereo Possible Without Professional Support?
Indeed, an individual can set up a car stereo without professional assistance. With the appropriate tools, instructions, and a bit of dedication, a great number of people find success in completing the installation without assistance, enhancing their car's audio performance.
How Much Time Does a Car Stereo Installation Usually Take?
Installing a car stereo usually takes one to four hours to complete, influenced by the complexity of the setup and the specific make and model of the vehicle. The experience of the installer and the tools on hand can also affect how long the process takes.
What Are the Signs I Need a New Car Stereo?
Indicators suggesting a need for a new car stereo include ongoing audio distortion, failure to connect external devices, recurring Bluetooth problems, malfunctioning controls, and an outdated interface. These concerns tend to negatively impact the entire driving experience and satisfaction.
Does Upgrading My Stereo Void My Car's Warranty?
Replacing a car stereo can have an effect on the vehicle's factory warranty, particularly if the installation results in damage or if particular elements are compromised. You are encouraged to consult the warranty terms or an authorized dealer for further guidance.
Can I Reuse My Old Speakers With a New Stereo?
Older speakers can frequently be repurposed with a new stereo system, as long as they are compatible. However, evaluating their condition and ensuring they meet the new system's power and impedance requirements is essential for best performance.